Brewing beer at home is not finished while your beer is nice and cozy in your fermenter. After the fermentation has been completed you still need to package it. There are two main methods of packaging your beer. It’s either bottle or keg. When we talk about these two methods, we often distinguish them by how we infuse CO2 into the drink to create the fizz we crave.
With bottling, we use a technique called bottle conditioning which is where we use added sugars to feed the remaining yeast and in return create more CO2. And when the bottle is sealed it will build pressure creating bubbles.
For kegging, we use force carbonation. This is where we use a tank of CO2 to force inject gas to make it fizzy. Whatever method you decide to use is up to you. Here are the basics of both. For more knowledge on the world of beer read Making Beer At Home – Basic Ingredients.
Starting with bottling
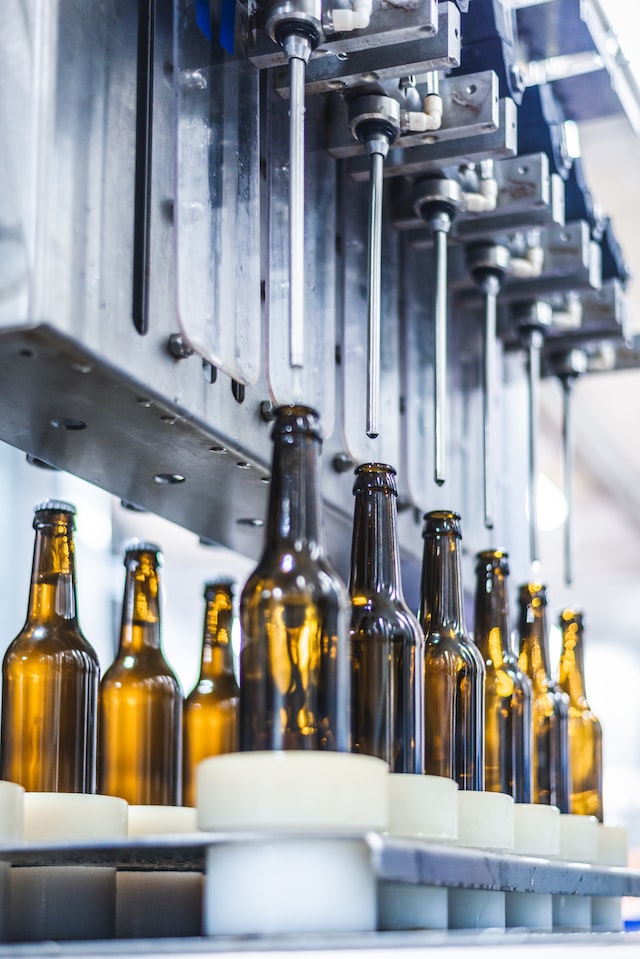
The biggest positive about bottling is that it’s cheap. By saving old beer bottles or collecting some from your friends you can package your beer for free. You just need to make sure you clean those bottles thoroughly. You can use other types of bottles but by using beer bottles you can ensure they are fermentation grade. There are a few great tools online to make your bottling life easier.
A bottle calculator is used to know how many bottles you will need to fill. All you need to do is add the total amount of beer and then start adding in the number of bottles until you hit the target amount. Always add a few more just in case.
Priming calculator. Priming is the process of adding sugar to the fermented beer. This is a crucial step because if you miscalculate how much sugar you add you can either have an under-carbonated beer or worse, an over-carbonated beer. And that can be a potential risk for an exploding bottle. The way to use it is to input your total volume, desired pressure rate, or volumes of CO2 from the chart and the highest temperature your beer hit during fermentation. That temperature is an important factor for getting the right pressure so try to be accurate. Then you get the amount of sugar to use.
Adding sugar to your beer
Different types of sugar can be used. Anything that has real sugar in it will work. No artificial sweeteners. The best to use is dextrose or corn sugar as it easily dissolves, unlike table sugar. There are also premade sugar tablets that you can drop into bottles. And while they work it’s hard to fine-tune the amount of sugar for different-sized bottles.
Now you need to divide the sugar by the number of bottles you have and put that amount in each one. Or you can use a bottling bucket to make your life easier. All you need to do is put the full amount of sugar in a separate bucket, and carefully transfer your beer on top making sure not to oxidize your beer. Gently stir the mixture to dissolve the sugar evenly and then you can just rack the beer into bottles. This is usually done with an auto-siphon and tubing.
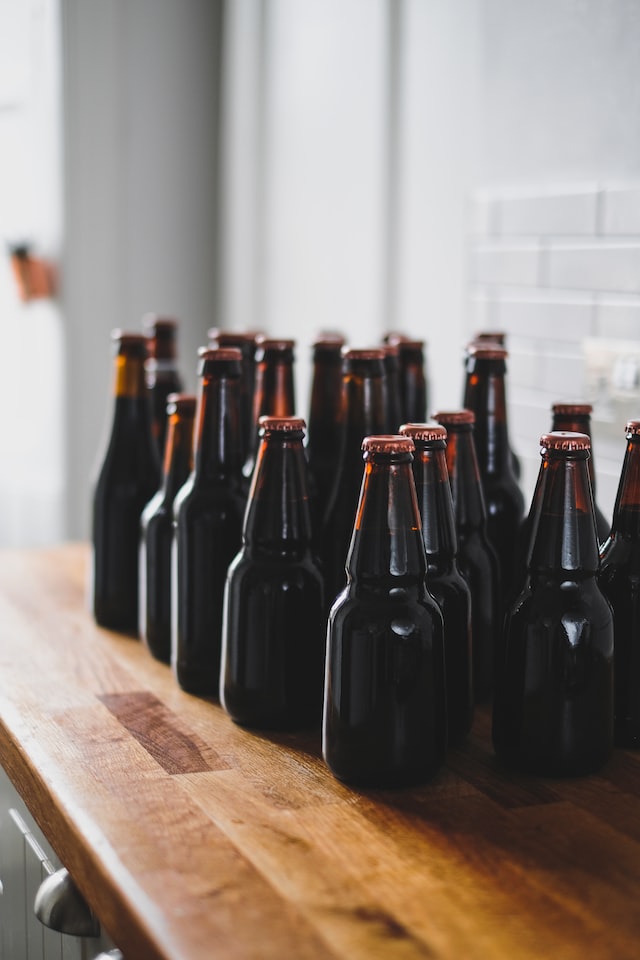
At the end just seal the bottle with a cap. Caps are very cheap and you can buy them in bulk. A hand capper is also a cheap option. Lastly set the bottles somewhere dark and cool for 2 weeks. Bottle-conditioned beers are desired by some beer lovers, especially in certain styles like Belgian ales and other strong beers. They are said to have a cleaner and more complex flavor, more defined carbonation, and longer shelf life.
Or you can use a keg
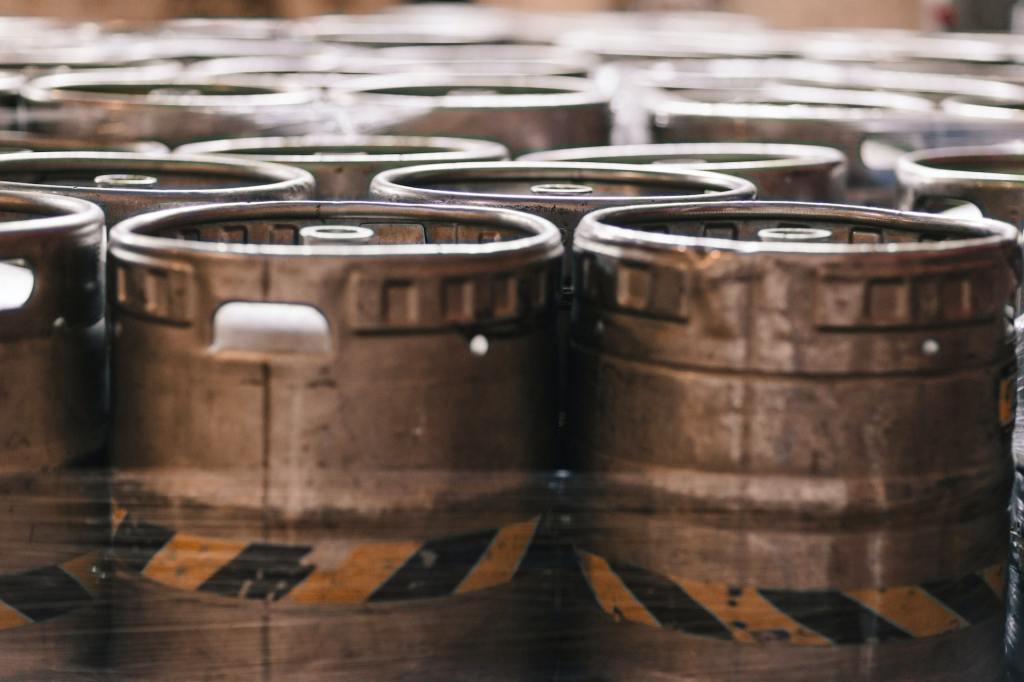
Kegging can be simpler and faster. Kegs come in all shapes and sizes but for the most part, they don’t come cheap. The typical homebrewing keg is known as Cornelius keg or Corny and it can hold 5 gallons of liquid. That’s why most beer recipes you see are for 5-gallon batches of beer.
There are two main types of Cornies, pin lock, and ball lock. This just refers to the type of connection needed for the keg. On top of the keg, there is the main opening for putting beer in and easily cleaning the keg. There are also two posts on top. One for the gas to go in and another for the beverage to come out. Each of these posts has its respective connectors. Grey is for gas and black for beverage. If you mix them up it can be near impossible to get them off.
Also on some kegs, you will have a PRV (Pressure Relief Valve). That will release pressure when it gets too high or if you want to purge the pressure manually by pulling the ring. This makes purging the keg with CO2 super easy to minimize oxidation when transferring beer in.
You also need a CO2 tank. They also come in different sizes. But 5 pounds is a common size for the average home brewer. It should come with a regulator to set the desired pressure. To fill them up head over to your nearest welding supply store. The bigger the tank the better value you will get and the more beers you can carbonate. A 5-gallon tank should last you about 6-8 kegs of beer.
Some other things you will need are gas tubing, liquid tubing, and hose clamps. Get at least 10 feet of liquid tubing to minimize foaming the beer.
Transfer your beer into a clean, sanitized, and purged keg. Close it up and add pressure from your CO2 tank via a regulator. Typically set your regulator to about 10 PSI (Pounds per Square Inch of Pressure) and let it sit for about a week. To serve from a keg you need to attach your liquid tubing to a liquid connect and then have some sort of tap. Cobra taps or picnic taps are the cheapest options. But some brewers will invest in a kegerator. But that will require a place to cool down the beer because CO2 dissolves better at colder temperatures.
So before you start making beer check and see which of these packaging methods best works for you. And don’t worry. You can mix them up as you go along.

One Comment Add yours