Milk kefir is a beverage that has been consumed for a very long time. Its tangy, strong taste can be refreshing and the best thing about making it at home is that you can control the flavor of the beverage from mild to extra strong.
For making milk kefir I recommend using organic milk. You can use animal or plant-based milk. From the plant-based milk try experimenting with coconut or oats. They will give a distinctive flavor that you can always upgrade by adding some lemon peels or fresh herbs. The great thing about milk kefir is of course the probiotics and their health benefits. If this is your first time trying to make or drink kefir remember to take it slow. Your body will need time to adjust to it so make sure not to drink too much at the very beginning. When your kefir is ready and set store it in your fridge to slow down the fermentation process. It should be good for use for 7 to 10 days depending on how strong the flavor is and how quickly it will ferment.
Equipment and recipe
The list of necessary equipment is quite basic. You will need a glass jar with a top and a rubber band, a spoon, a sieve, and some storage bottles. This is something that we all have in our kitchen. Just make sure all the equipment is clean and sanitized so you can have the best possible result.
To make kefir you will of course need kefir grains. If you know anyone making kefir you can ask them. But you can also purchase them online. When they arrive it’s good to wake up the grains by putting them in 100 ml fresh milk, covering it, and leaving it for a day or two.
A good measure is to use 5-10 grams of kefir grains per liter of milk. This will give you a mild taste. Anything more than that will result in more tangy-flavored milk kefir. So you can always adjust the flavoring of your kefir from the very beginning.
Making the kefir

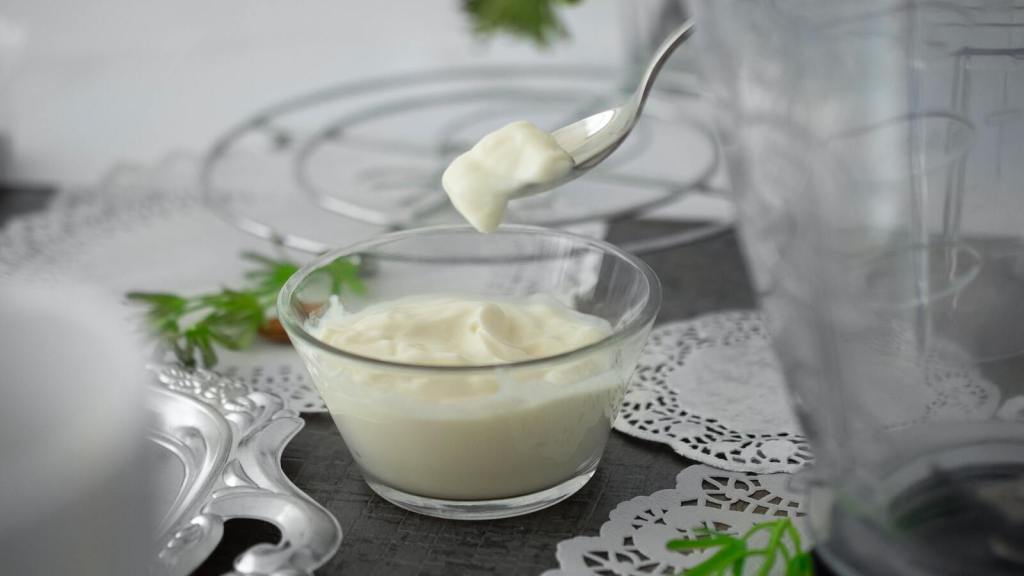
Put ½ tsp kefir grains in the jar. Add a pint of milk, leaving about 2cm headroom if using a clip-top jar, or at least 5cm for a cloth-covered jar. Leave on the worktop for 18-24 hours to ferment. It’s turned to kefir when the milk has thickened. It may have set and separated, with pockets of whey forming – this is quite normal.
When set, if you can’t strain it straight away, put it in the fridge to stop it from fermenting further, as the flavor can get quite strong – you can strain it anytime over the next 48 hours.
Strain the kefir through the sieve or straining funnel into your jug or bottle. The grains are quite robust and will withstand gentle stirring.
You can drink it straight away, flavor and refrigerate it (a slice of lemon peel or a drop of lemon oil add a delicious fresh taste), or leave it at room temperature for a few hours to make it taste stronger.
Rinse the kefir grains and put them back with some milk so they will be ready to use next time. While the kefir is fermenting keep it away from direct sunlight. At first, it might take up to 48 hours for the milk to thicken. You can tell it’s ready as the milk will set, just like yogurt. Pockets of whey might appear; don’t worry this is normal and they will mix in during straining.
